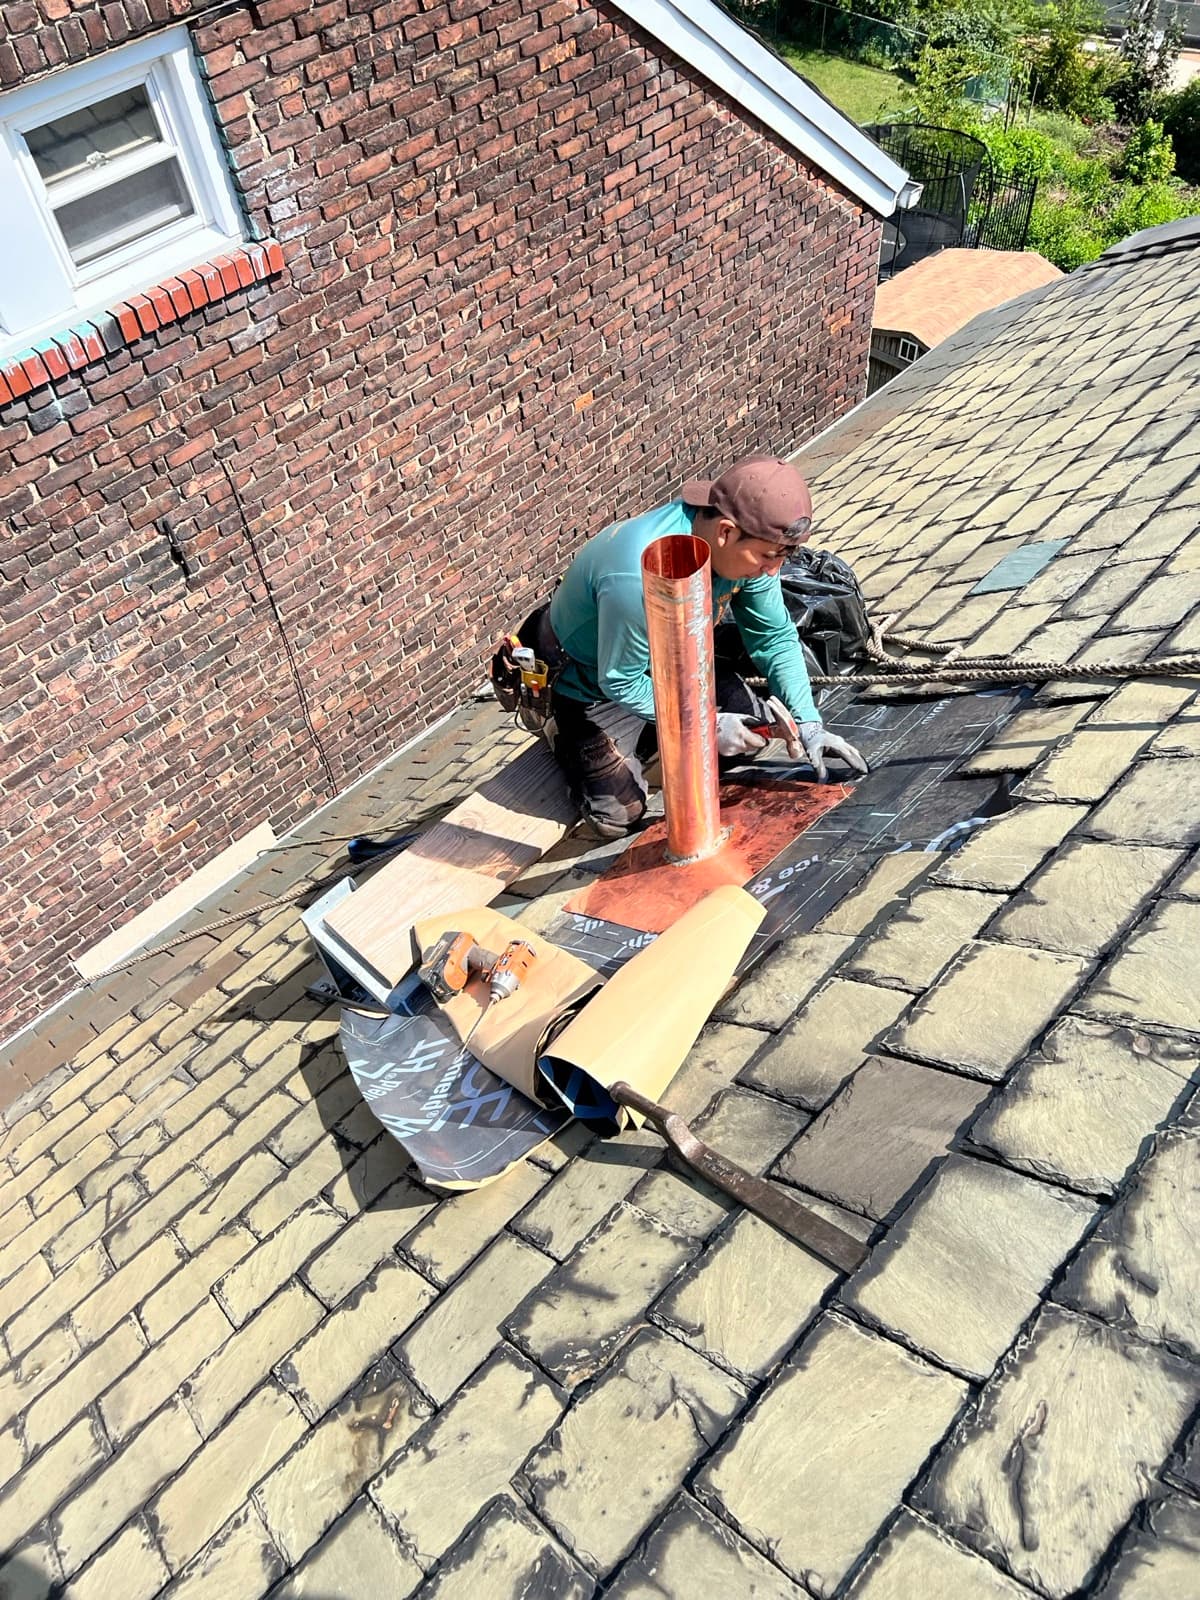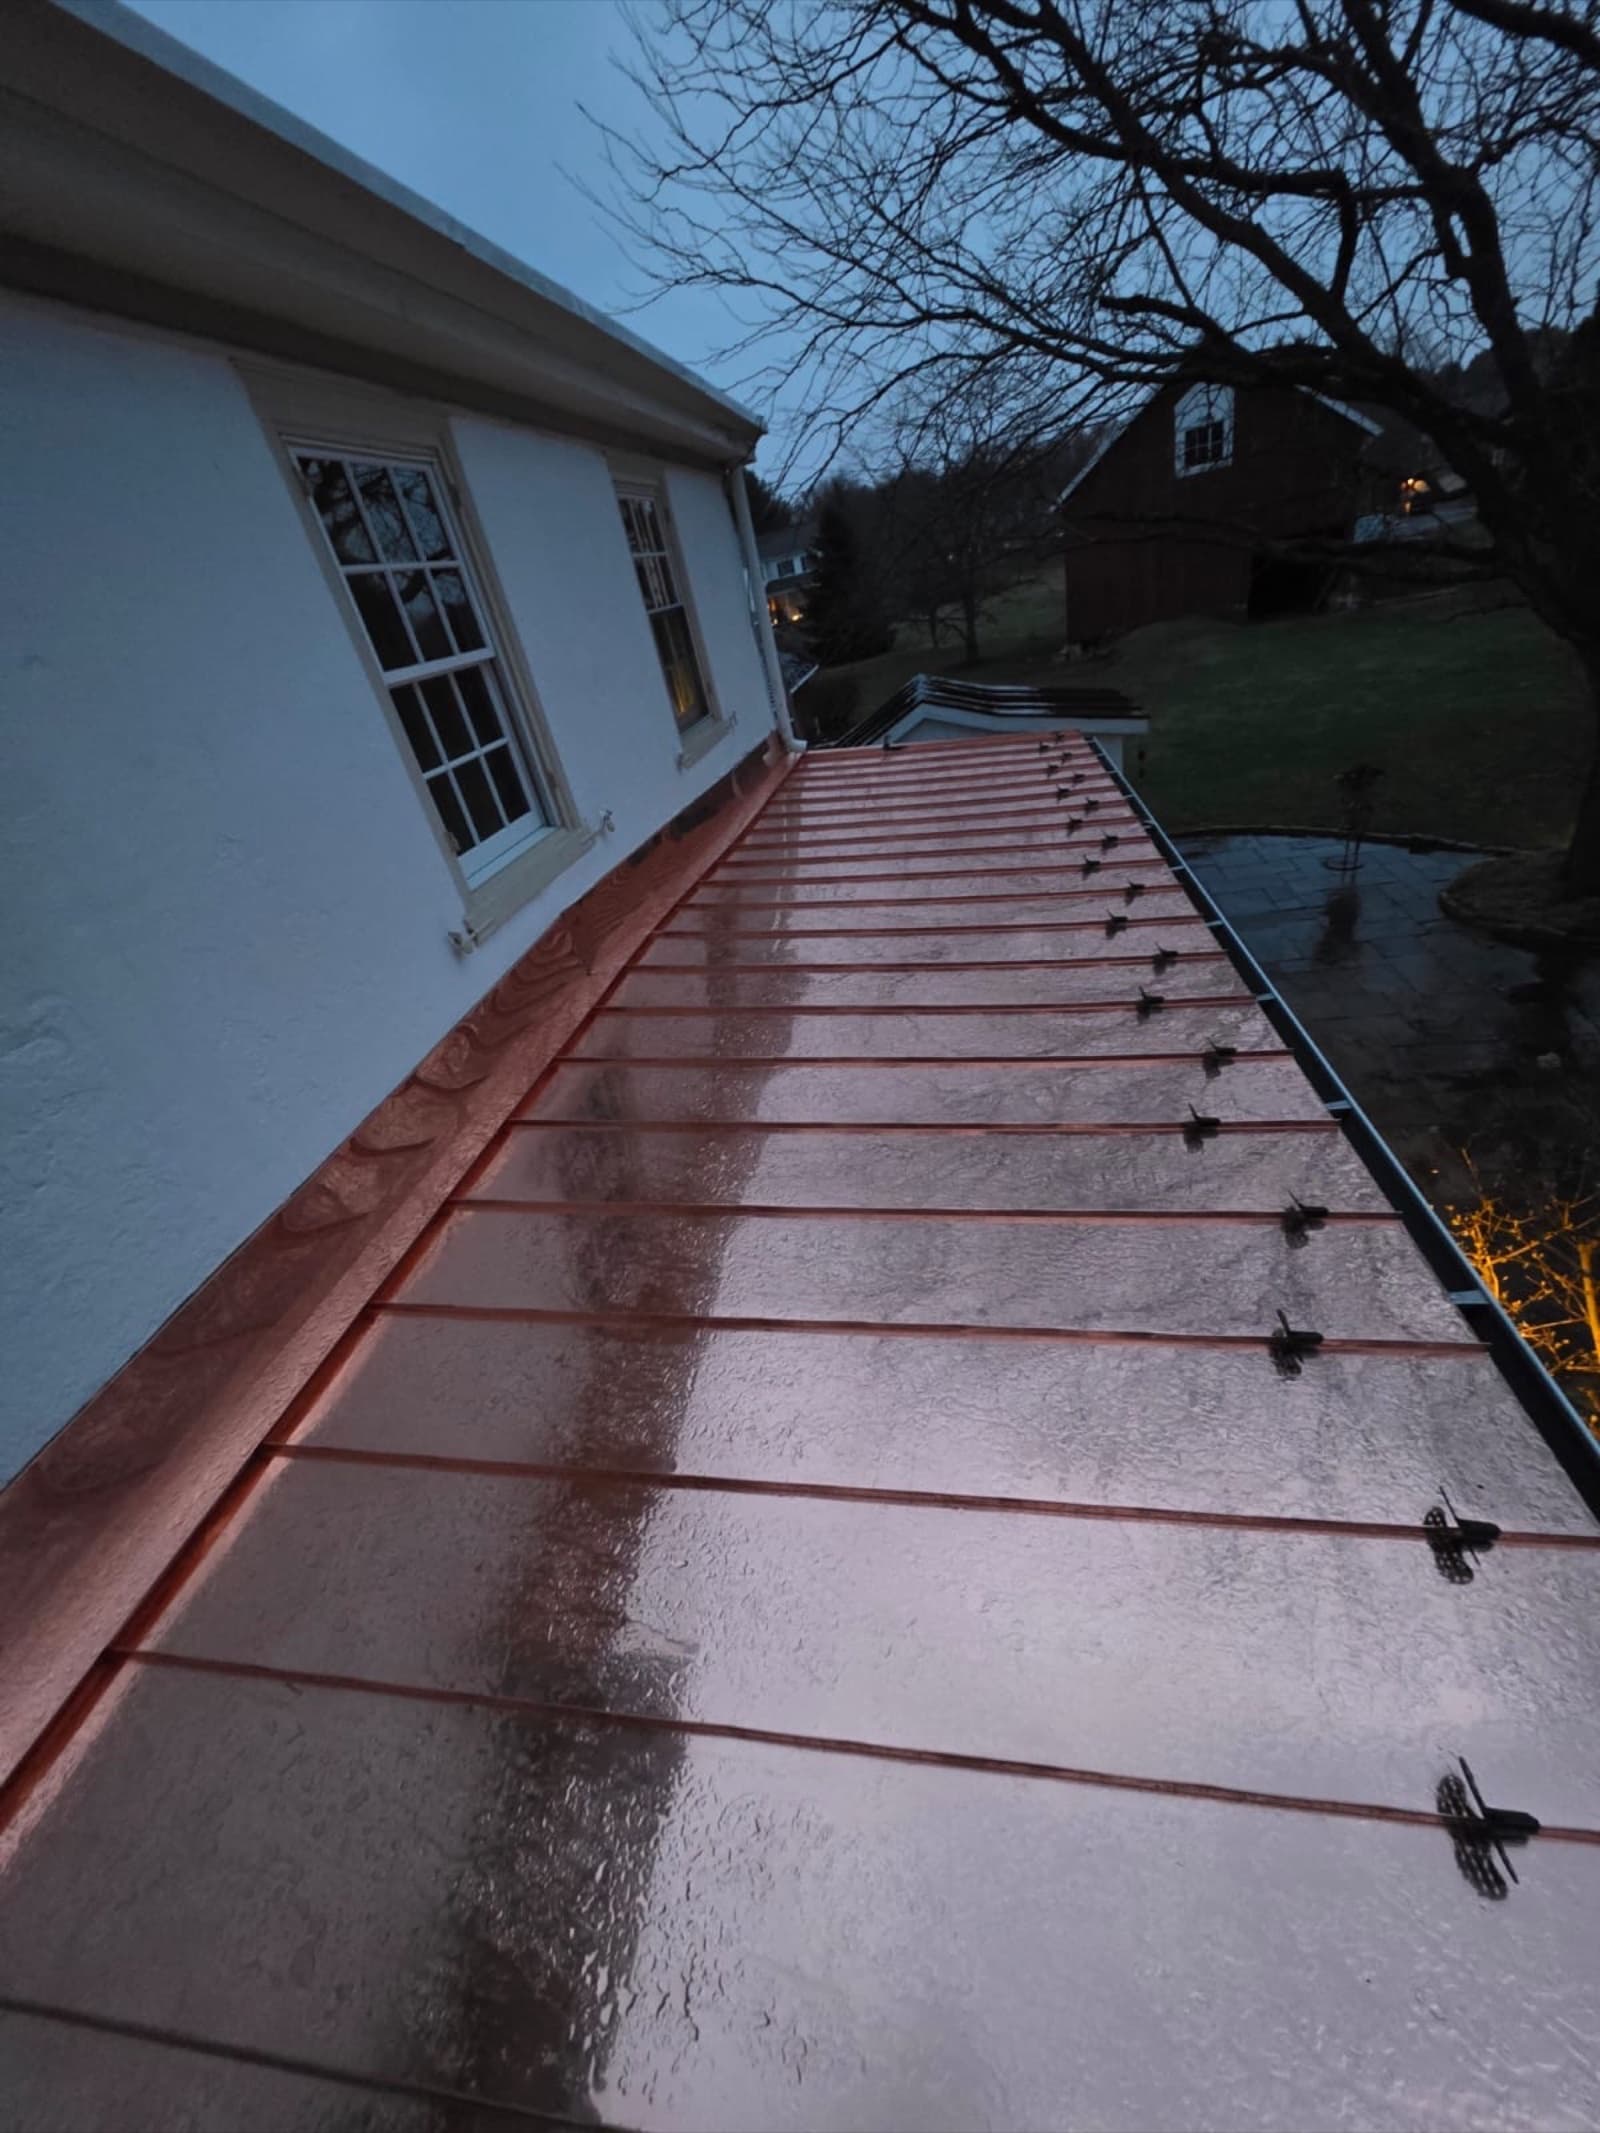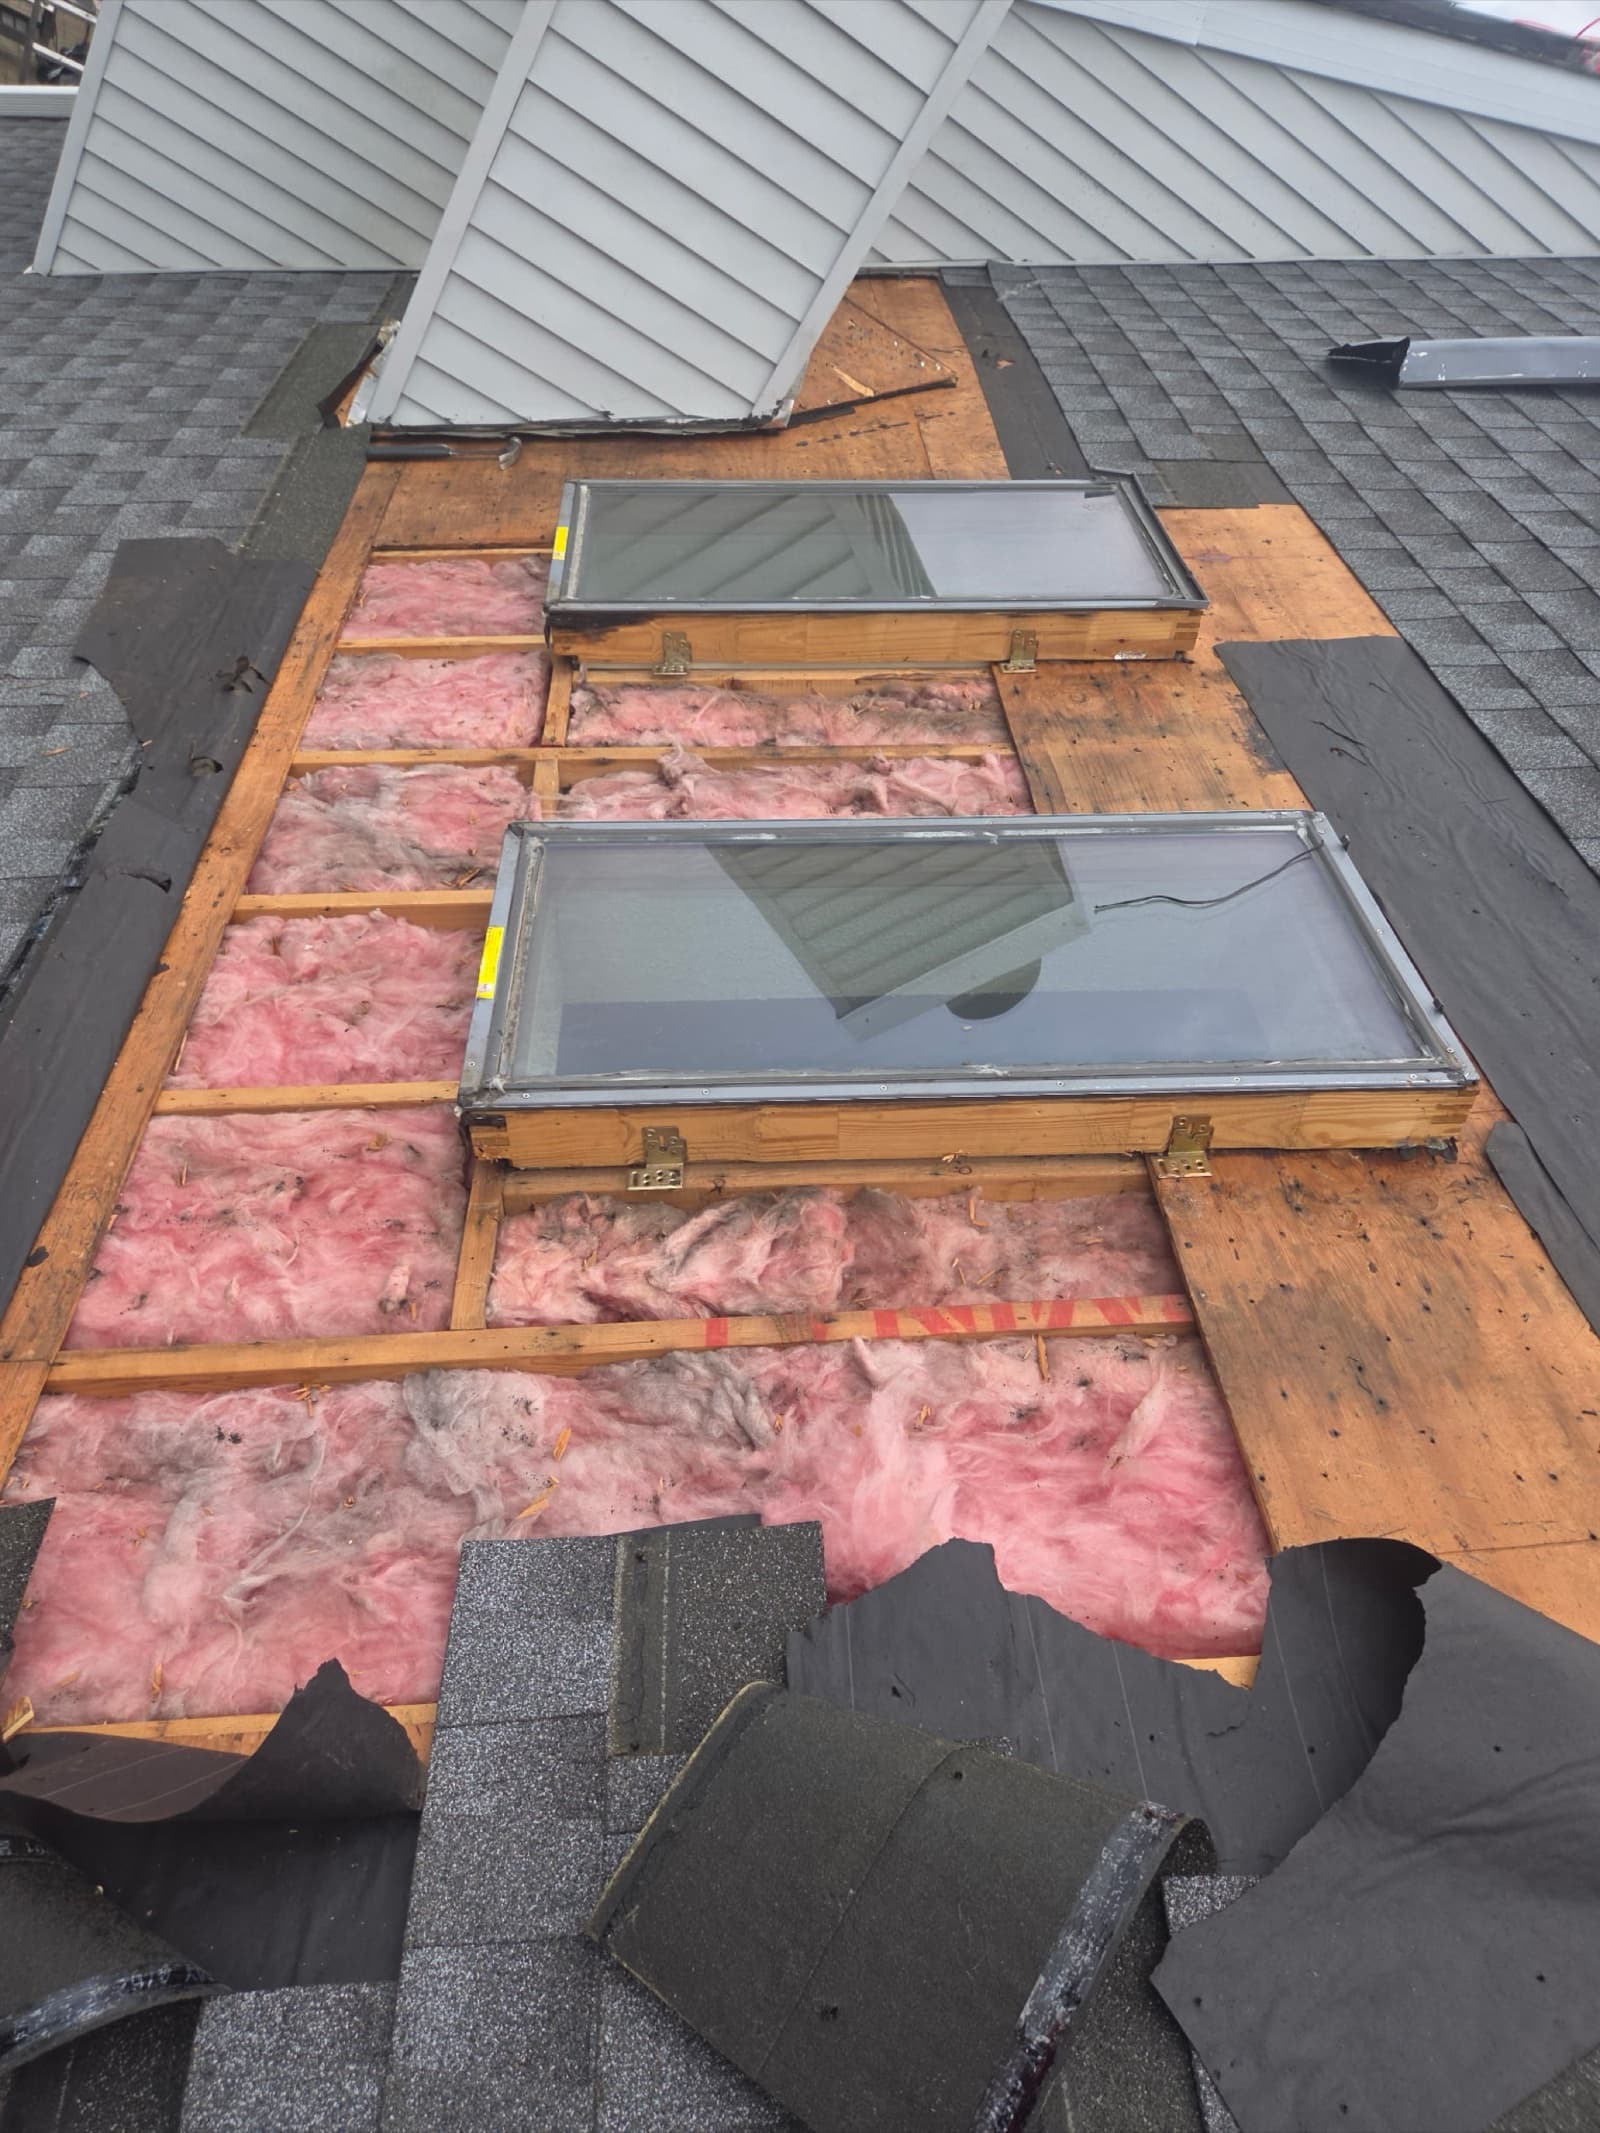
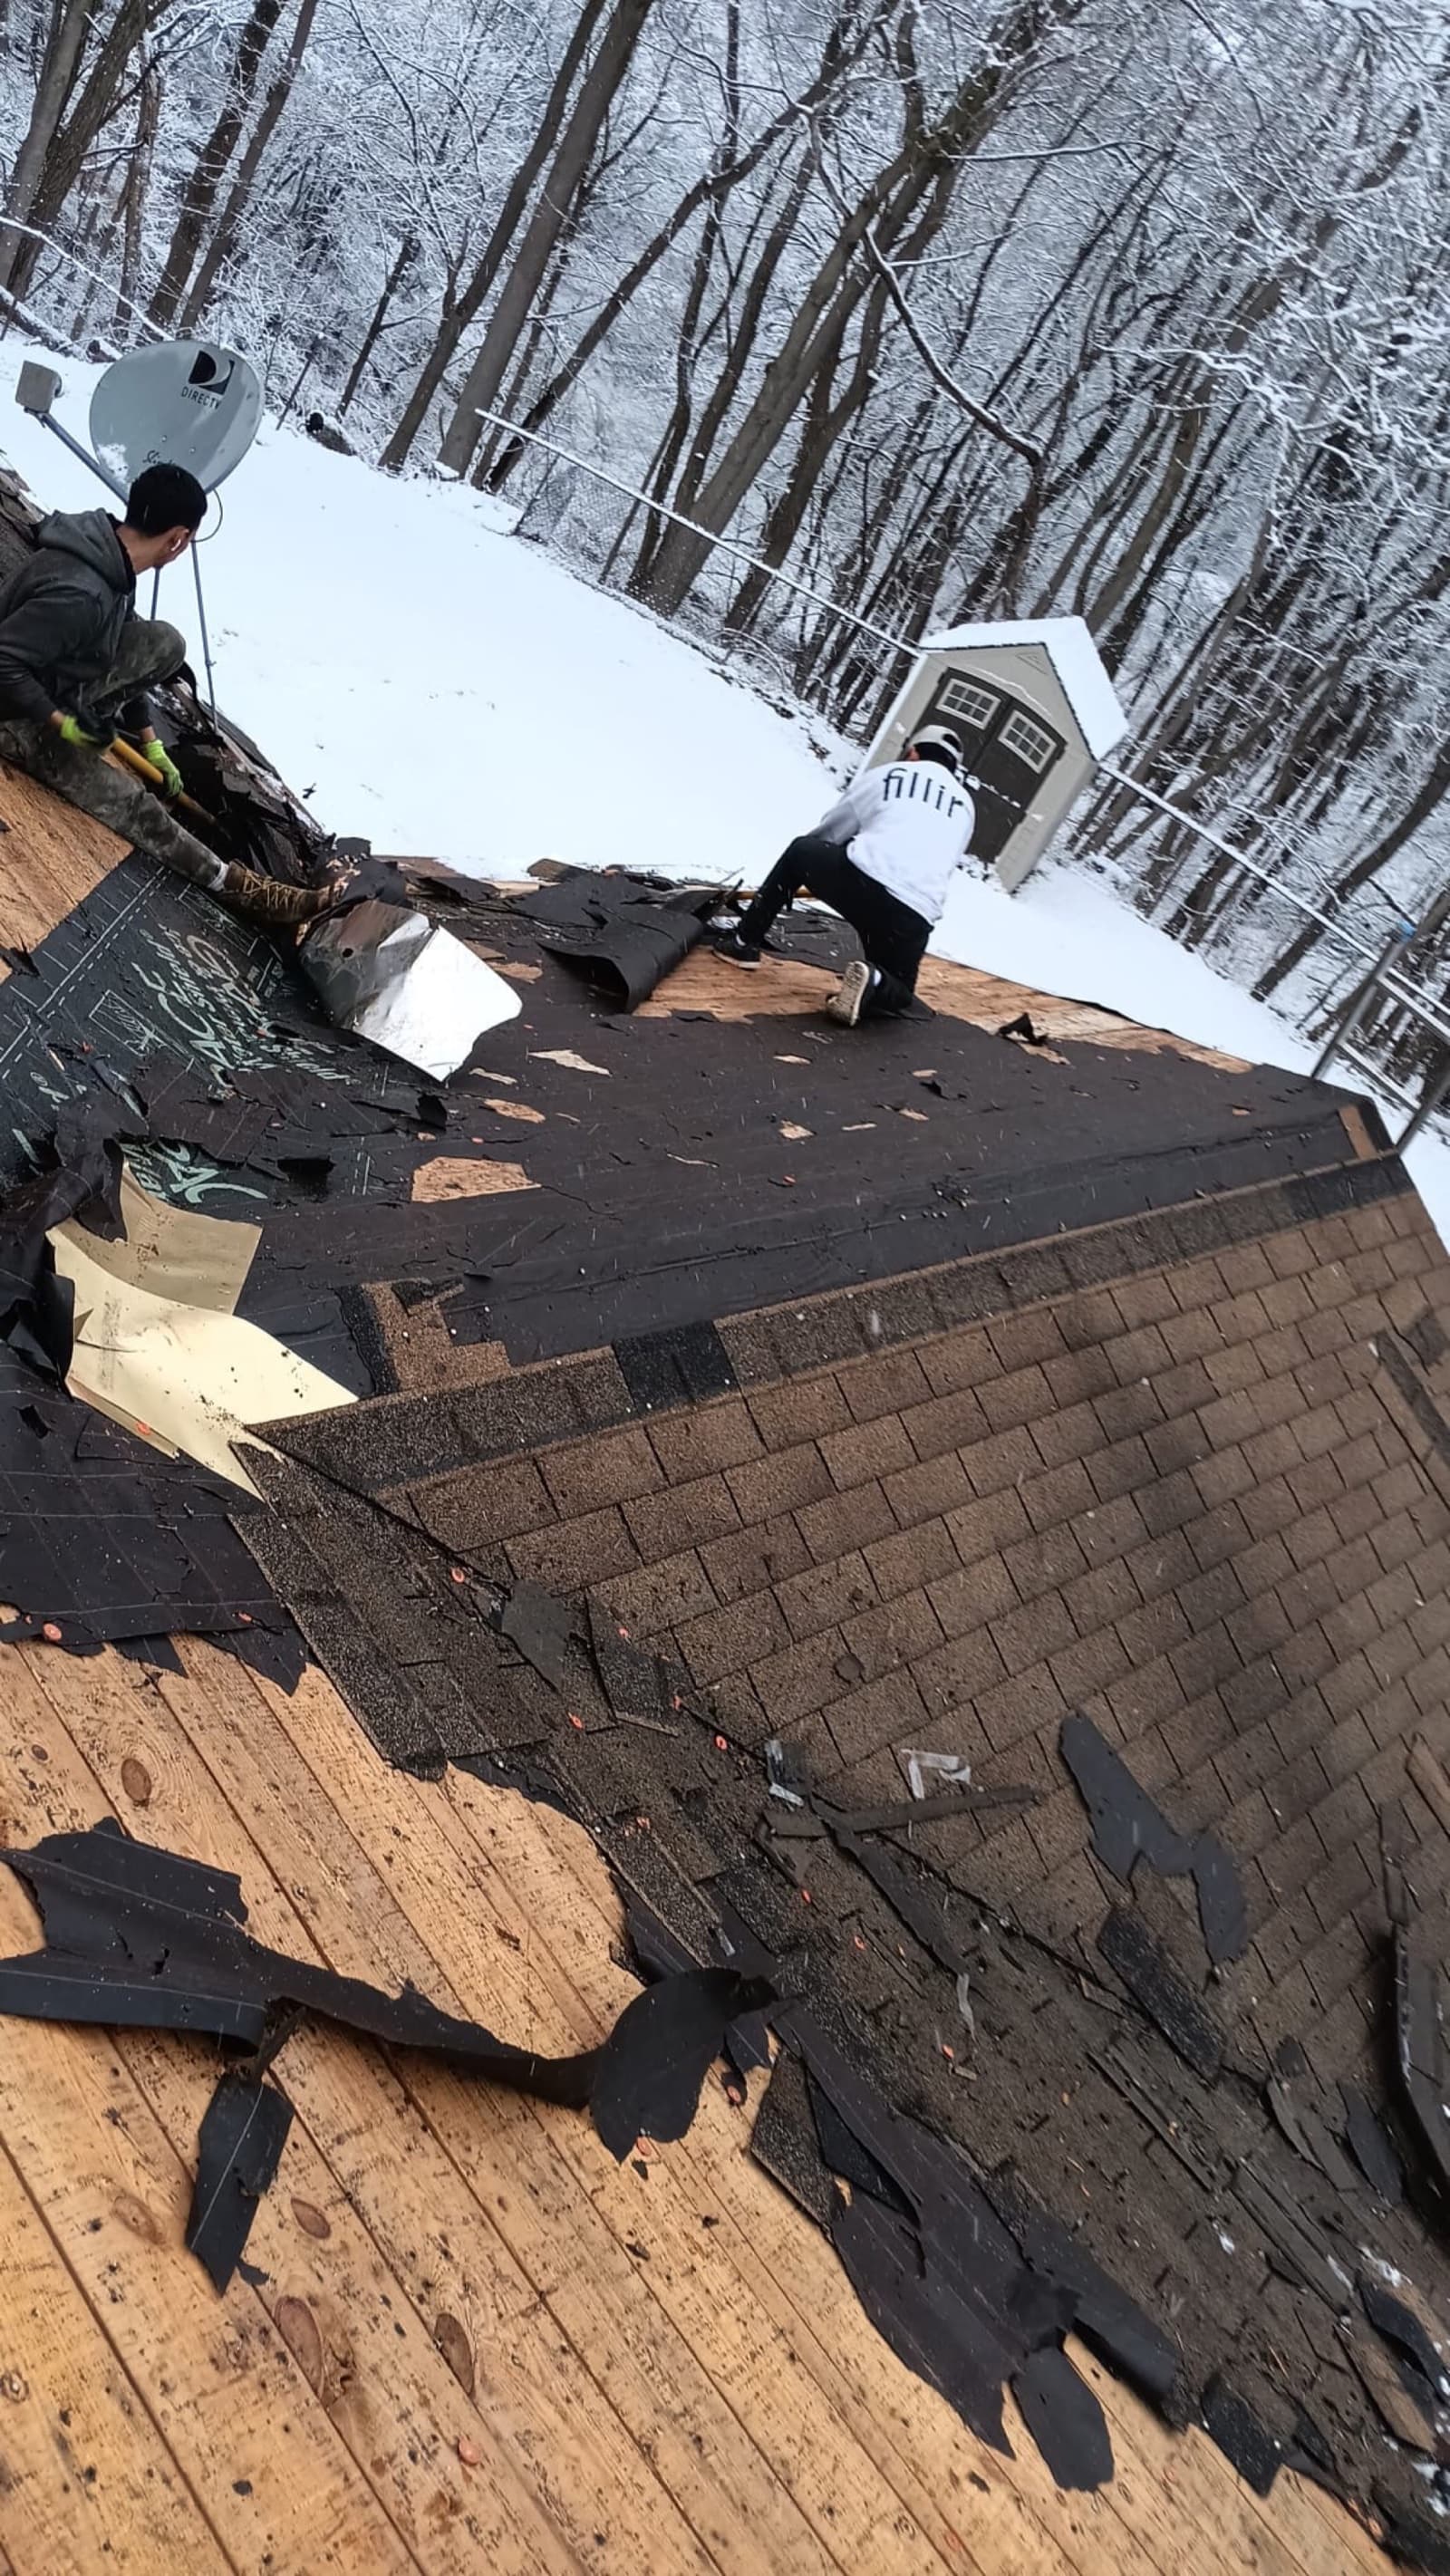
A tarp is a tourniquet, not a repair. It holds water back while the storm is still running and while the real fix is scheduled — that is the entire job, and a tarp that tries to be more than that fails. Done right it is a small, deliberate system: reinforced poly anchored above the damage, fastened to wood rather than driven through your shingles, with its edges run past the leak so water sheds off the roof instead of under it.
Most of what gets sold as emergency tarping is a thin blue sheet held down with sandbags, and it's back to leaking the next time the wind picks up. This page covers what a tarp that actually holds looks like, when a roof is too unsafe to tarp and what we do instead, how long a tarp really lasts, and how to document the damage so your insurer treats the tarping as the covered mitigation it usually is.
What a properly installed emergency tarp looks like
A tarp that holds is heavy-mil reinforced poly — woven fabric, not the thin blue picnic plastic sold as a drop cloth — sized to run well past the damage on every side. The single rule that governs everything else is that the tarp is anchored above the damage. Water runs downhill, so the top edge has to sit higher than the leak, which means runoff sheds over the covered area instead of hunting for the seam. On most roofs that means the sheet runs all the way over the ridge and down the far slope, or its top edge is sealed and tucked under a course of shingles so nothing can drive water behind it.
We fasten to wood, not through your field shingles. The edges are rolled a full turn around 2x4 battens or 1x3 furring strips so the fabric grips the lumber, then screwed down through the strip — the screws pass through wood, not through the exposed roof surface. That spreads the wind load across the whole length of the strip instead of tearing at a few staple holes, and it keeps the anchor points sitting on top of the batten where water can't reach them. The bottom edge runs down past the damage so the sheet sheds water off the roof the way a shingle does, rather than funneling it underneath.
A correct tarp is a small system, and every detail is doing a job:
- Woven, reinforced heavy-mil poly — not the thin blue tarp sold as a drop cloth
- Top edge above the damage: over the ridge, or sealed and tucked under a shingle course
- Edges wrapped and screwed to 2x4 battens or 1x3 furring strips, not stapled through the field
- Sheet sized to overhang the damage on all four sides so water sheds off, not under
- Anchor screws driven through the wood strip, never through exposed shingles
- No ballast-only jobs — no sandbags, tires, or bricks holding a loose sheet down
The sandbag-on-a-blue-tarp job, and why it's leaking again by Tuesday
The version most homeowners get is a thin blue tarp laid over the damage with a few sandbags, a stack of bricks, or a couple of old tires holding it down. Ballast holds a tarp in still air. It does almost nothing in wind, which is the only time a tarp is under real load. The first sustained gust gets under an unsecured edge, balloons the sheet, and either drags the weights off or peels the whole thing back like a page. Now there's a loose tarp flogging against the roof, wearing granule off the surface it was supposed to protect, and an opening wider than when the last crew started.
The other common failure is stapling or nailing the tarp straight through the field. Every fastener is a fresh hole in a roof that's already letting water in, and thin poly tears from staple to staple the instant the wind loads it — the fabric unzips along the line of perforations. A tarp fastened wrong is worse than no tarp, because it convinces you the problem is handled while water keeps moving under it. That is the whole reason the batten method exists: the load lands on the wood, not on the roof, and not on the fabric's weakest points.
When a roof can't be tarped safely — and what we do instead
A tarp only helps if a person can get on the roof and stay on it safely, and there are conditions where that's a bad trade. We don't send a crew up in active lightning, in sustained high wind that turns a tarp into a sail and a worker into ballast, or onto a roof glazed with ice where footing is gone. We also don't walk a deck that may not hold weight — after a tree strike, a partial collapse, or a visible sag, the structure gets evaluated before anyone stands on it.
When the roof itself has to wait, the water still needs somewhere to go, so we move the work inside. Interior containment starts with finding where water is actually tracking — usually well away from the ceiling stain, because it runs along rafters and top plates before it drops — and then catching it: poly sheeting to channel the flow, containment to a bucket or a controlled drain point, and moving whatever sits under the leak out of the splash zone. Then we come back and tarp the moment conditions let a crew work the roof.
The situations that push us to containment first are specific:
- Active lightning anywhere near the property
- Sustained high wind that would turn the tarp into a sail
- Ice or snow glaze that removes safe footing on the slope
- Structural collapse, visible sag, or a deck that may not hold a person
- A tree still resting on the roof, or unstable limbs hanging overhead
How long a tarp lasts — the honest answer
A correctly installed tarp is measured in weeks to a couple of months, not seasons. Two things wear it out. Ultraviolet light makes even reinforced poly brittle and chalky over time, and wind works every fastener and every edge a little looser with each cycle. The heavy-mil fabric outlasts the thin blue plastic by a wide margin, but even the good material has a service life you count against the calendar and the wind, not the season. A tarp that looked tight in October is not the same tarp in February, and treating one as a permanent roof is how a temporary cover turns back into an active leak.
The rule is to inspect the tarp after every storm and every hard wind. Edges lift, battens back out, and ponding water finds a low spot and pools there until it seeps or tears — all of it catchable if someone actually looks. Insurers understand this too: no adjuster expects a tarp to be a season-long solution, and leaving one up for months over a roof that could have been repaired can raise fair questions about the mitigation itself. A tarp buys you the window to schedule the permanent repair. It is not the repair.
Photograph the damage before we cover it
Most homeowners policies carry a duty the insurer usually phrases as taking reasonable steps to prevent further damage after a loss. Putting a tarp over an open roof is exactly that step, and the cost of reasonable mitigation is typically part of the claim rather than money out of your pocket — but only when it's documented. So before anything gets covered, photograph the damage: wide shots that place the opening on the roof, then close-ups of the hole, the missing shingles, or the puncture itself. A tarp that's already down hides the very thing the adjuster came to see.
Keep the receipts for any emergency work, and check your policy for how it treats emergency mitigation and what your reporting window is — those terms vary and the deadline is yours to confirm. Zubar's role in a claim is narrow and we keep it there: we inspect, we photograph and measure, we write a scope of the repair, and we meet your adjuster on the roof to walk the damage. We are a roofing contractor, not a public adjuster and not an attorney — in New Jersey, adjusting a claim for a fee requires a public adjuster license, which we don't hold. We never take an Assignment of Benefits, and we never waive or absorb your deductible, which is insurance fraud in this state. You keep every photo we take whether or not you hire us, and the full claim workflow lives on our insurance restoration page.
- Wide shots that locate the damage on the roof before it's covered
- Close-ups of the actual opening, missing shingles, or puncture
- Interior damage too — ceiling stains, wet insulation, damaged belongings
- The date and time on every photo, which your phone stamps automatically
- Receipts for the tarping and any other emergency work
When a tree is the reason you're calling
A tree or a large limb through the roof changes the order of operations. The tarp is not the first move — the structure is. A strike can crack rafters, shift a bearing point, or leave a section of decking that looks intact from above but won't carry a person's weight. A limb that looks like it only grazed the surface can still have driven the deck down between the rafters or opened a seam you'd never spot from the ground. Tarping over that is dangerous for the crew and pointless for you, because whatever gets covered has to come back off the moment the structural repair starts.
So the sequence runs: make the area safe, get the tree or limb off the roof if it can come off without dropping more load onto weakened framing, evaluate what the strike did to the rafters and deck, and only then tarp what's sound enough to hold water back until the repair. If the limb is still bearing on the roof or hanging unstable overhead, that comes out first. It's its own kind of job, and the tree-strike details — structural check, tarp sequencing, and the claim that usually rides with it — are on the tree damage roof repair page.
When You Actually Need This
- Active leak coming through the ceiling during a storm
- Shingles torn off a slope with more rain in the forecast
- A branch or flying debris has punched a hole in the roof
- Your adjuster is days out and the roof is still open
- A prior tarp has peeled, torn, or started leaking again