Most roof leaks are not roof failures. They are a failed pipe boot, an open flashing joint, or a single backed-out nail on a roof that still has years of service left. The hard part is almost never the repair itself — it is finding the one detail, out of dozens, where water is actually getting in. Water enters the roof at a high point and rides the path of least resistance before it ever reaches drywall, so the drip you see and the hole you need to close are rarely in the same place.
That gap between the symptom and the source is where bad repairs are made. A handyman tars the shingle directly above the stain, the ceiling dries out for a month, and the leak comes back the first time the wind blows from the wrong direction — because the entry point was six feet upslope the whole time. Our job on a leak call is diagnostic before it is anything else: find the entry point, prove the water path down to the stain, close the source, and tell you honestly whether the roof under it is worth repairing at all.
The stain on your ceiling is not under the leak
Water gets into the roof at a high point and then follows gravity and surface tension down the framing. It runs along the top edge of a rafter, across the underside of the plywood or plank decking, and down the web of a truss until it meets a nail tip, a panel seam, or a low spot in the wood, and only then does it drop onto the ceiling below. By the time it lands, the water can be six or ten feet from where it came in, often in a different framing bay entirely, sometimes on the opposite side of a wall.
This is why a repair that begins on the roof surface, at the spot directly above the stain, misses far more often than it lands. The shingle over your stained ceiling is frequently fine. The real opening is upslope at a flashing, a boot, or a valley, and the water simply used your ceiling as the low point to exit. Chase the stain with roofing cement and you have sealed the one place water was leaving, not the place it was entering, which usually just moves the drip a few feet over the next time it rains.
Where water actually gets in, most common first
Across the leak calls we run, the same short list of entry points accounts for the overwhelming majority of them, and almost none of them are the field shingles most homeowners assume are the problem. Roughly in order of how often we find them:
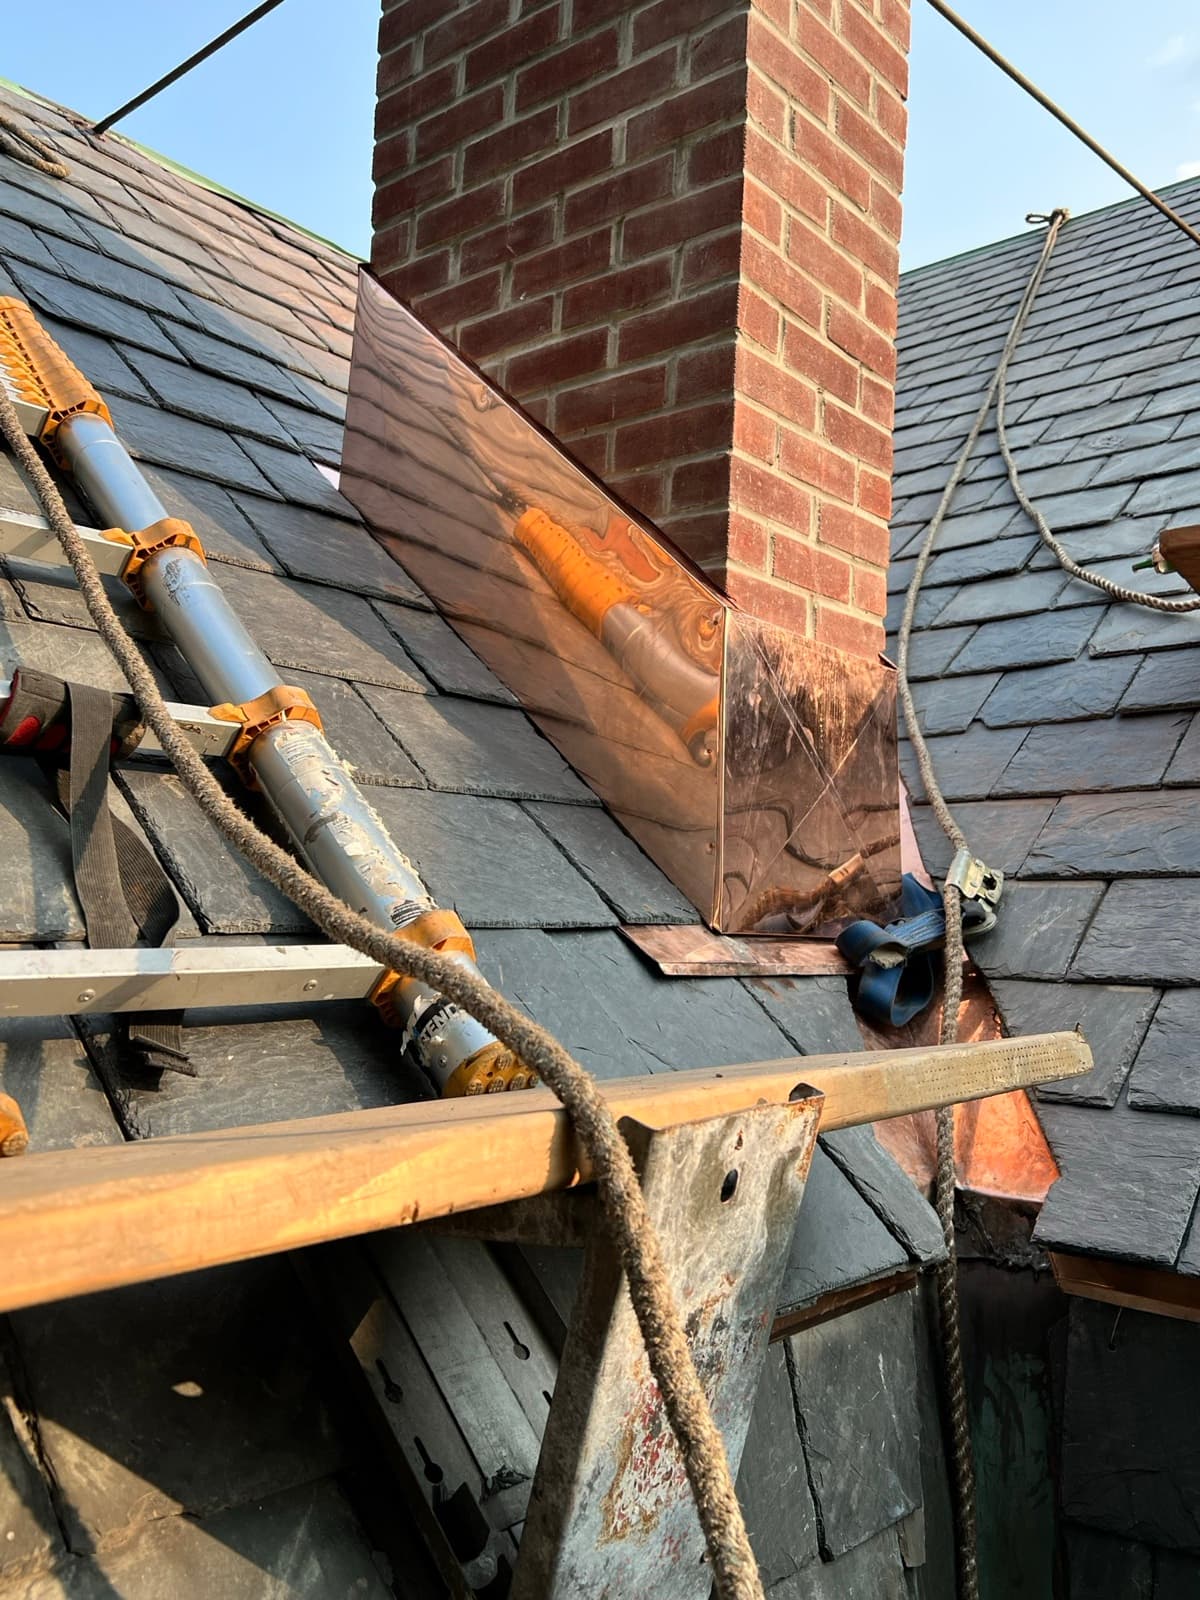
- Step and counterflashing at walls and chimneys — the single most common source. When the flashing is surface-mount caulk instead of step pieces woven into each course, or the chimney counterflashing was tarred over the brick instead of seated in a cut mortar reglet, the joint opens and water runs straight behind it.
- Missing kickout flashing where a roof slope ends above a gutter against a wall — with no kickout to divert the last few inches of runoff into the gutter, water sheets behind the siding and rots the wall from inside, often with no roof stain at all until the damage is severe.
- Failed pipe boots — the rubber collar around a plumbing vent UV-cracks and splits, usually in 8 to 12 years, long before the shingles around it wear out. A split boot is a direct, open hole into the ceiling below the pipe.
- Valley construction — debris damming that traps water, a worn centerline, or nails driven too close to the valley center all let water get under the shingles where two slopes concentrate the most flow on the roof.
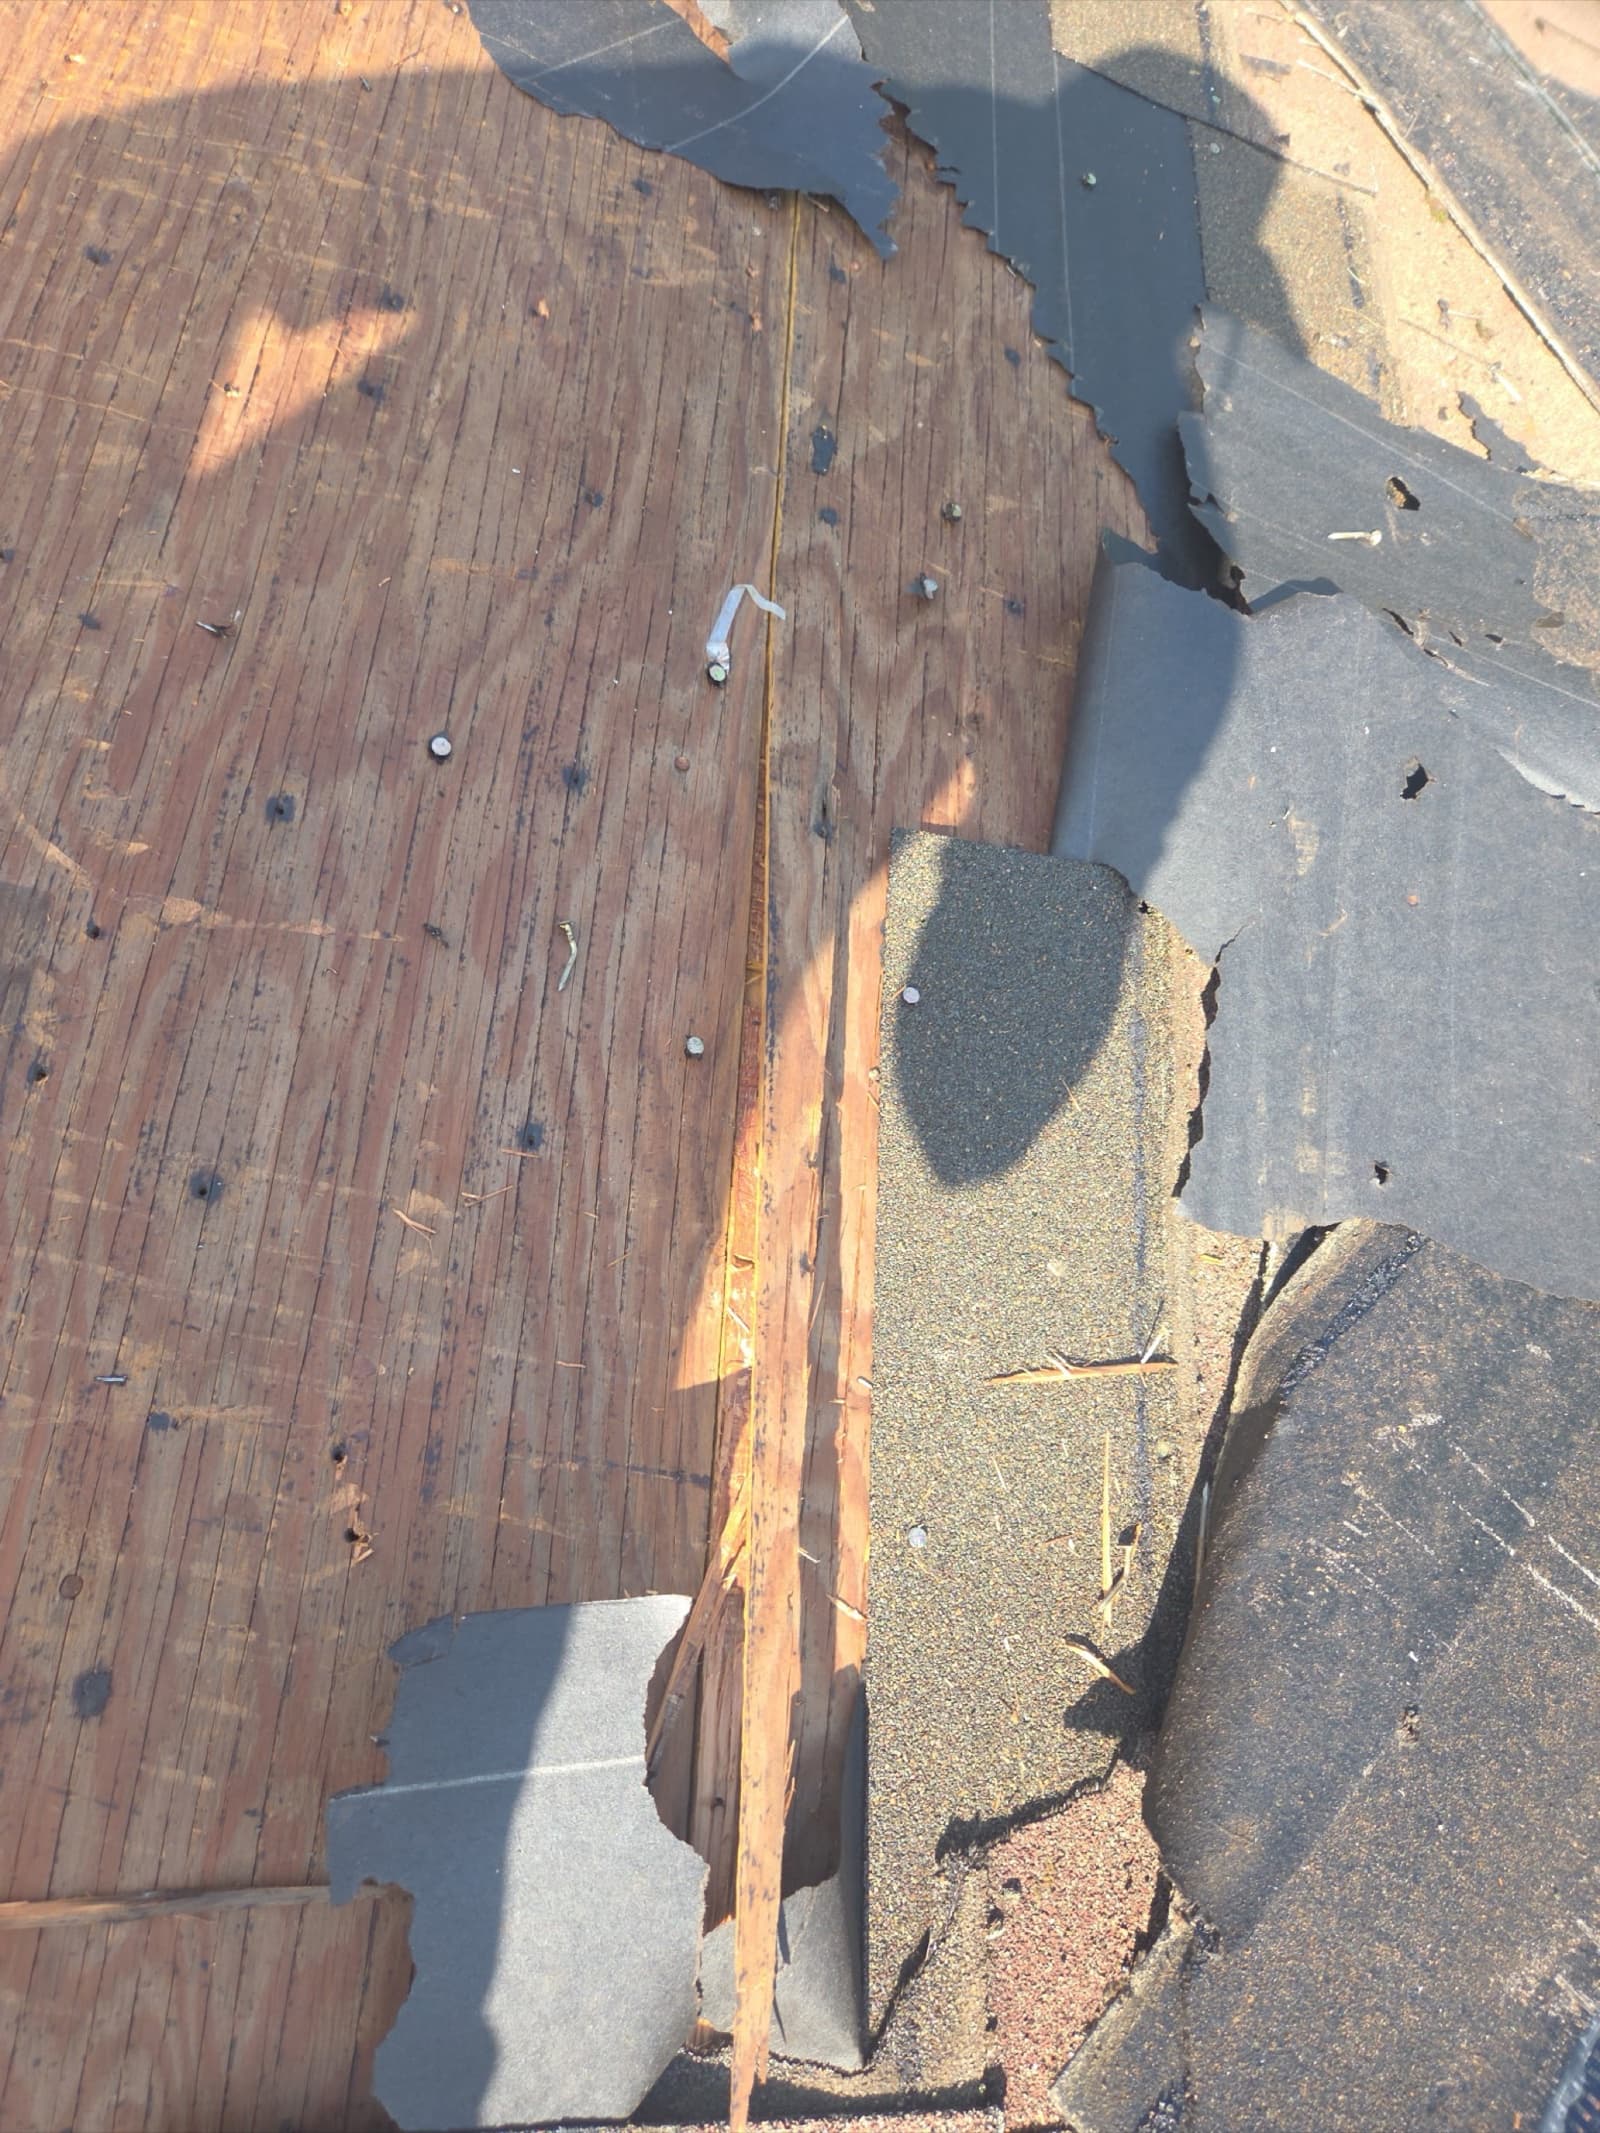
- Nail pops — a field fastener backs out, lifts the shingle above it, and leaves a hole straight through the underlayment and decking that only leaks when rain hits that spot at the right angle.
- Skylight curb flashing — the leak is almost always the head apron or the side step flashing at the curb, not the glass itself, though the glass gets blamed.
- Ice-dam backup at the eaves — snowmelt refreezes at the cold, unheated overhang, water pools behind the dam, and it backs up under the shingles above the ice-and-water shield line.
- A ridge vent that was never sealed correctly — wind-driven rain and blowing snow push in through a ridge vent with no internal baffle or with the shingle nails driven short.
How we find the entry point
We start inside, in the attic, because that is where the water writes down its own path. A flashlight held at a low, raking angle across the underside of the sheathing does two things a straight-on beam cannot: it catches any pinpoint of daylight coming through the deck, and it throws the faint shadows of old and new staining into relief so we can trace the track. A moisture meter then tells us what a stain alone cannot — whether a given board is wet right now or dried out long ago — so we follow live moisture, not a historical map.
From the drip point we work upward, following the wet track along the rafters and decking to the highest point where the wood is still wet. That high point sits directly below, or just upslope of, the actual entry. Then we go outside to that specific zone and inspect the detail the interior map is pointing at — the wall flashing, the boot, the valley, the fastener. Drone imagery covers any slope too steep or too high to walk safely and gives us a dated close-up of each suspect detail without anyone guessing from the ground.
For a clear single-source leak this interior-to-exterior mapping resolves the great majority of calls in one visit. It also means the repair is targeted: we are closing a documented opening, not replacing a broad area on a hunch.
Controlled water testing, one zone at a time, bottom to top
Some leaks — intermittent ones, wind-driven ones, or leaks with a long concealed travel path — will not give themselves up to a visual inspection. For those we run a controlled water test with one person on the roof with a hose and one person in the attic watching the suspect area under a light. The rule that makes it work is discipline about order: wet one isolated zone at a time, start at the lowest edge of the roof, and move up only after the zone below has been cleared.
We begin at the eave and lower field, run water on that band alone for several minutes, and wait and watch inside before moving on. If it stays dry, we step up to the pipe boots, then the wall and chimney flashing, then the valleys, then the ridge — each as its own separate test with a pause between. The first zone that produces water inside is the entry point, because everything below it has already been proven dry.
Flooding the whole roof at once teaches you nothing. Water appears inside and all you have confirmed is that the roof leaks, which was the reason for the call. Worse, water introduced high runs down over every detail beneath it and contaminates every lower test, so you can no longer tell whether the eave, the boot, or the valley let it in. Testing low to high, one zone at a time, is the only way the test actually names a location instead of just reproducing the symptom.
When a leak is a repair, and when it is a symptom
A leak at one detail on a roof with granule left, flexible shingles, and no other active defects is a repair, full stop. Replace the boot, rebuild the flashing, and the roof goes back to doing its job for years. Most leak calls are exactly this, and it would be dishonest to answer a single failed component with a replacement quote.
The picture changes when the leak is not the disease but a symptom of it. If the field is bald where the granules have worn off, the shingles are curling and brittle at the tab edges, and you are getting water at several unrelated spots rather than one, the roof is telling you it is finished — and a patch at any one spot just moves the next leak somewhere else. Our Roof Health Assessment grades this directly: a roof scoring in the Failing or End of Life band is one where repairs have stopped paying for themselves, while a roof in Minor Wear or Active Defects with one bad flashing detail is a straightforward fix.
We will tell you which one you have, and we will tell you plainly when a repair is throwing money at a roof that is already retired. If that is the answer, we put a written estimate for full replacement next to the repair number so you are comparing real options, not a scare tactic against a Band-Aid.
What a lasting leak repair includes
A leak repair that holds replaces the part that failed instead of hiding it. When the source is flashing, that means new step flashing woven into each shingle course at the wall, counterflashing seated into a cut mortar reglet at the chimney, and a kickout installed where the slope meets the wall above the gutter — the same details covered on our flashing repair page. When the source is a boot, it means a new collar sized to the pipe, not a bead of silicone smeared around the old cracked one. When it is a valley or a nail pop, the shingles come up, the opening is corrected at the deck, and everything goes back down properly lapped.
We do not tar over a flashing problem. Roofing cement over a live joint is a repair with a shelf life of one hot summer — it dries, shrinks, cracks, and the leak returns, usually after the person who applied it is long gone. If your leak is active right now during a storm, that is an active roof emergency, and an emergency tarp battened down with strapping stops the interior damage while we schedule the permanent fix, so you are not chasing buckets while the diagnosis happens.
Every leak repair carries a two-year workmanship warranty at the repair location, and any component we replace keeps whatever manufacturer coverage it comes with. You also keep the photos and the moisture readings from the diagnosis, whether or not you hire us for the repair.
When You Actually Need This
- A brown ceiling stain that grows a little after every rainstorm
- A drip that shows up near a chimney, a wall, or a skylight
- Water that only appears during wind-driven rain from one direction
- A stain that lands well away from any visible roof penetration
- A past tar-patch repair that has started leaking again